This article will cover SLTV1569A, SLTV1969A, SLC1569A & SlC1969A stand / base removal for wall mounting purposes. Just looking at these televisions it would appear that there are only three screws that need extracted to remove the base. This is not the case, there are a few more screws that need some attention. Follow us as we guide you through the process!
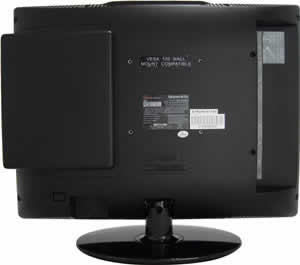
On the models that we will cover here this is what the base should look like. If your TV base / stand doesn’t look like this then you should not follow these instructions.
Base / Stand removal is really pretty simple when you know how. Skyworth builds these little guys pretty tough and they don’t want them falling apart.
There are a total of 6 screws that need to be removed for the base to come off of the television. The base should come off with little effort. If you have to tug and pry you may have missed a screw or two. Stop tugging!
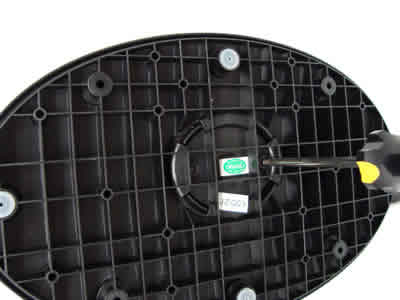
Cover a counter or table top with a towel or blanket to help protect the TV screen from damage and the trim from scratches. Gently lay the TV on it’s face on the towel or blanket.
Now we can see the underside of the base plate. You will notice two screws there that need to be removed.
Next you’ll need to gently work the neck clips loose from the base plate.
Once the base plate is removed we can move on to step 2.
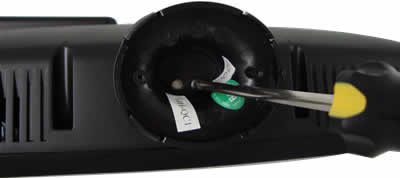
Up inside of the base neck is another screw. This needs removed before we can move on. Make sure that your screwdriver fits in the screw properly so that the screw head is not damaged.
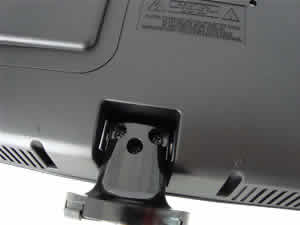
The next step is to remove the screws from the back of the base neck. This is the super easy part. Three screws and the process is complete.
Be careful not to slip and scratch up the base neck. After removing these screws the base neck should easily slip off of the TV.
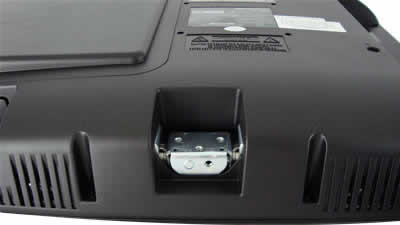
Now that we have successfully removed the entire base from the television we are ready for wall mounting. Don’t forget to store all removed parts and hardware in a safe place. You might consider storing all removed screws in a separate plastic bag from the actual base pieces to keep from scratching the pieces.
Need help setting up your VESA wall mount? Please follow our Knowledge Base article on How to set up a VESA wall mount.

